The Basket Button in the WF: Request Quote, Hide Price app allows you to provide customers with an easy and persistent way to request quotes, no matter where they are on your store. Whether you want the button to appear as a floating icon, a header button, or a menu item, this feature offers multiple configuration options to match your store’s design and user experience needs.
Let’s explore the Basket Button and how you can configure it for your Shopify store.
Key Features of the Basket Button #
- Floating Icon:
The floating icon is a small, persistent button that stays visible as customers scroll through the pages of your store. It’s ideal for stores where you want to make the Request Quote option always accessible, without taking up too much space on the screen. - Header Button:
The header button places the Request Quote button in your store’s header, typically at the top of the page. This ensures that the button is always within reach for customers, even as they navigate different sections of your store. It’s a great choice if you want to make the quote request option highly visible from any page. - Menu Item:
With the menu item option, you can add the Request Quote button as part of your store’s navigation menu. This allows customers to access the quote request option through your main menu, which could be especially useful if you want to integrate it into your store’s existing navigation structure.
How to Configure the Basket Button #
To configure the Basket Button, follow these steps:
- Access the App Dashboard:
First, log into your Shopify store and go to your Admin Dashboard. Then, navigate to the WF: Request Quote, Hide Price app. - Go to Button Settings:
In the app, find the Button Settings section. This is where you can control how the Request Quote button will appear across your store. - Select the Basket Button Option:
In the Button Settings page, you’ll see the option to configure the Basket Button.
Here is the tutorial of how to choose the basket button and how it will displayed in the front end :
Save and Test:
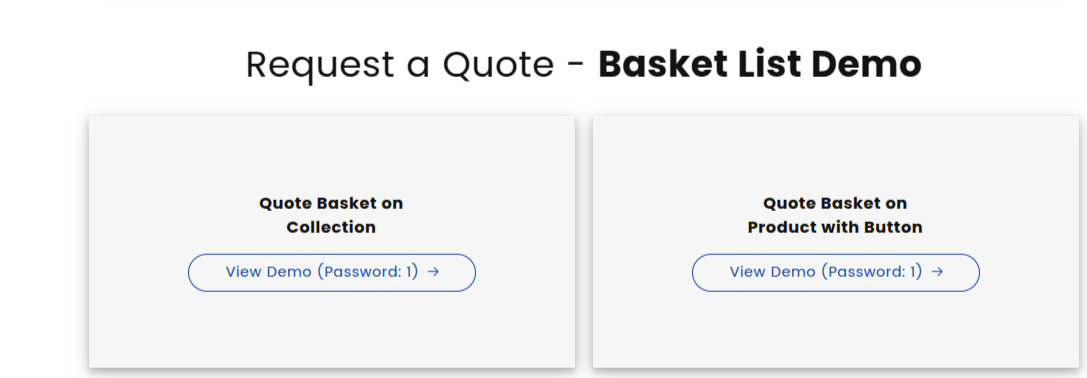
After completing the configuration, save your changes and visit your store to ensure the button appears in the correct place and functions as expected. Test the button to make sure it’s visible and operates seamlessly with your store layout. You can access this demo store for a personalized experience
1. For collection page https://wf-request-for-quote-basket-quote.myshopify.com/collections/all
2. For product page : https://wf-request-for-quote-basket-quote.myshopify.com/products/gift-card
By following these steps, you can effectively configure the Basket Button to enhance the user experience and encourage more customer interactions through the Request Quote feature.


